بهینهسازی مصرف آب با ساخت «شیرآلات نی دار»
به گزارش خبرگزاری مهر به نقل از معاونت علمی، فناوری و اقتصاد دانش بنیان ریاست جمهوری، محمدحسین دهقان دهنوی مدیر عامل شرکت یک دانشبنیان و از کارآفرینان برتر کشور در مورد تولیدات این مجموعه، گفت: ۱۶ سال است که در امر بهینهسازی مصرف آب فعالیت میکنم و خوشبختانه توانستم ۱۲ اختراع را با تاییدیه وزارت نیرو و سازمان پژوهشهای علمی و صنعتی کشور به ثبت برسانم که چهار مورد از این اختراعات تجاری سازی شده و به تولید انبوه رسیده اند.
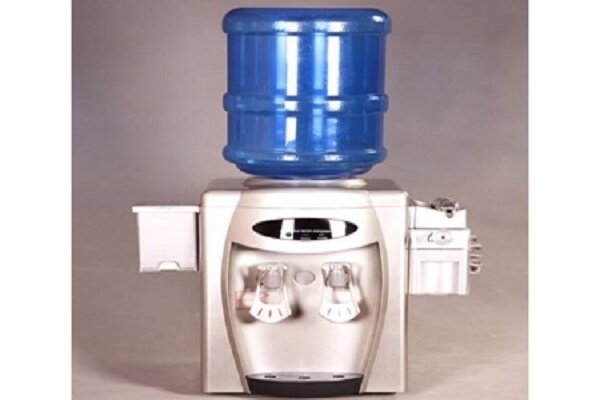
دهقان دهنوی یکی از مهم ترین اختراعات خود را شیرآلات نیدار ذکر کرد و گفت: با استفاده از این شیرآلات که میتواند جایگزین شیرهای معمولی در آبسردکنها شود برای نوشیدن آب نیازی به لیوانهای یک بار مصرف نخواهد بود و کافی است نی پلاستیکی کوچک یکبار مصرفی را از جعبه کنار آبسردکن برداریم و در سوراخ تعبیه شده در شیر آب قرار دهیم. با فشار شاسی شیر و قراردادن نی در دهان، آب به میزان دلخواه و با فشار از پیش تنظیم شده نوشیده میشود در پایان شیر را در مقابل جعبه تخلیه نی قرار میدهیم تا نی به داخل جعبه منتقل شود.
وی افزود: علاوه بر این شیرآلات پدالی هم تولید کردیم که بر روی دوش حمام قابل نصب است. سایهبان کولر، تولید دیگر ما است که تماما در راستای بهینهسازی مصرف آب است. این محصول که چندین سال است در کشور استفاده می شود هم توجیه اقتصادی دارد و هم بسیار کاربردی است.
این کارآفرین نمونه کشور ادامه داد: این محصولات با توجه به تازگی و پرمصرف بودن میتوانند به اشتغالزایی کمک کنند. در حال حاضر در این رکت دانش بنیان ۳۰ نفر مشغول به کار هستند که این تعداد می تواند تا ۲۰۰ نفر افزایش یابد.
مدیر عامل این شرکت دانشبنیان در مورد ارائه محصولات خود مناطق محروم اظهار داشت: هر جا آب هست محصولات ما آنجا میتواند جایگاه داشته باشد. این تولیدات به ویژه در مناطق محرومی که آب آشامیدنی سالم ندارند بسیار کاربردی است و می تواند موجب ۵۰ تا ۶۰ درصد کاهش مصرف آب شود.
دهقان دهنوی تصریح کرد: با این محصولات فقط جلوی اسراف و هدررفت آب گرفته می شود و بدون اینکه مصرفکنندگان کمبود آب را احساس کنند میتوانند به هر میزان آب دلخواه را مصرف کنند.
این مخترع با اشاره به شعارهای زیادی که در مورد صرفهجویی در مصرف آب داده می شود، گفت: مدام گفته می شود آب کم است و صرفه جویی کنید. آب نبض زندگی است. طرح های این مجموعه دانش بنیان دقیقا در جهت این بوده که این شعارها عملی شود و آب حفظ شود. باید امکاناتی فراهم شود که جلوی اسراف آب را بگیریم.
وی در پاسخ به این سؤال که چه انتظاری از دولت دارید، بیان کرد: ما هیچ انتظاری نداریم جز اینکه مسولان محصولات ما را ببینند و در منزل خود استفاده کنند و اگر دیدند کارایی دارد و واقعا باعث صرفه جویی می شود دستور خرید این محصولات برای ادارات کشور را صادر کنند. ما با صرف هزینه میلیاردی، آزمون و خطاهای لازم را انجام دادیم. اشتغال ایجاد کردیم.کارخانه احداث کردیم و تولید انبوه داریم. فقط مسولان این محصولات را ببینند و در صورت تایید دستور استفاده از آنها را بدهند.
این خبر را در ایران وب سازان مرجع وب و فناوری دنبال کنید
منبع:مهر