آشنایی با زهکشی گلدان و فواید زهکشی گلدان
اگر شما علاقه مند به پرورش گل و گیاه هستید یکی از مهم ترین مواردی که برای نگهداری از گیاهان باید به آن توجه کنید، زهکشی است. برای آشنایی با زهکشی گلدان و فواید زهکشی گلدان با ما همراه باشید.
زهکشی چیست و چگونه انجام می شود؟
وجود زهکشی در گلدان به این منظور است که آب اضافی که در اثر آبیاری گیاه در خاک جمع می شود از کف گلدان خارج شود. برای ایجاد زهکشی کافی است که در کف گلدان سوراخ هایی با تعداد و اندازه مناسب تعبیه کنید. باید زهکشی را با توجه به میزان نیاز گیاه و ترکیبات خاک انجام داد. اگر زهکشی گلدان کم باشد آب اضافی در خاک باقی می ماند و در صورتی که سوراخ ها بیش از اندازه باشند آب به سرعت از گلدان خارج شده و ریشه های گیاه فرصت جذب آب به میزان کافی را نخواهند داشت. البته جنس گلدان اعم از پلاستیکی، سفالی، سرامیکی و… در چگونگی انجام زهکشی نیز موثر است.
فواید زهکشی گلدان
میزان نیاز و توانایی گیاهان در ذخیره آب متفاوت است. ریشه های برخی گیاهان نسبت به آب حساس است، بنابراین اگر زمان زیادی در مجاورت آب بمانند دچار پوسیدگی می شوند و در نهایت حیات گیاه به خطر خواهد افتاد. در نتیجه مهم ترین فایده ای که زهکشی گلدان دارد این است که ریشه گیاه را از خطر پوسیدگی دور نگه می دارد. مزیت دومی که زهکشی گلدان دارد این است چرخش هوا داخل گلدان را بهبود می بخشد. هوارسانی به ریشه ها می تواند رشد گیاه را بهبود دهد و علاوه بر آن از بروز بیماری های قارچی و باکتریایی جلوگیری کند.

نحوه ایجاد زهکشی گلدان
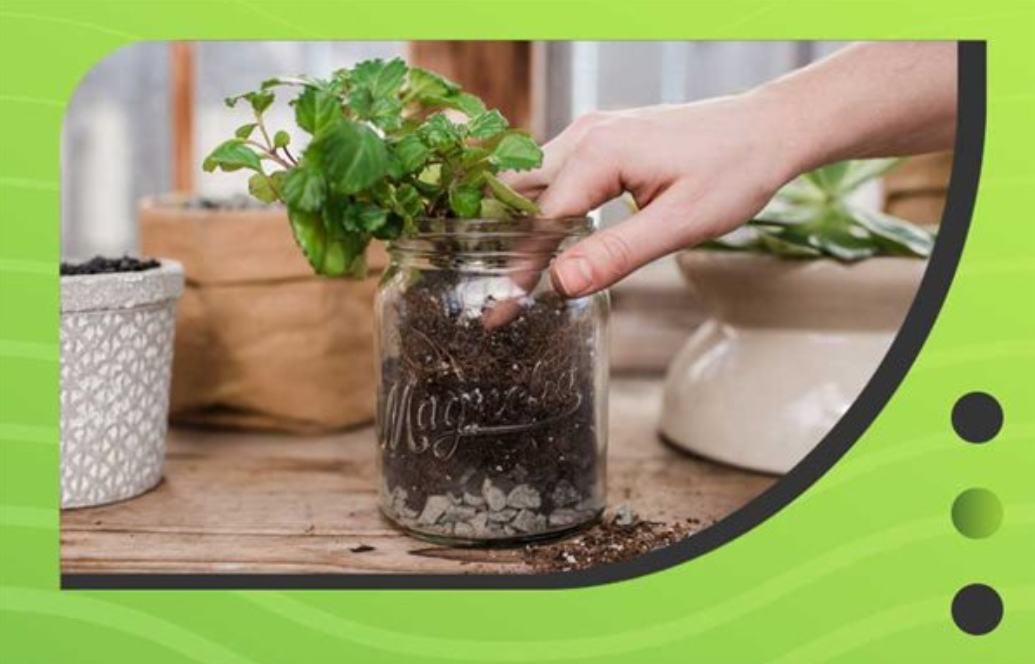
ساده ترین راه برای ایجاد زهکشی در گلدان ایجاد چند سوراخ در کف آن است. بسته به جنس گلدانی که برای کاشت گیاه در نظر گرفته اید می توانید با ابزارهایی که در دسترس دارید به تعداد مورد نیاز سوراخ هایی در انتهای گلدان ایجاد کنید. دقت داشته باشید سوراخ ها بیش از اندازه بزرگ نباشند، همچنین برای جلوگیری از خروج خاک می توانید کف گلدان را با سنگریزه پر کنید و یا چند سنگریزه داخل سوراخ ها قرار دهید.
اهمیت خاک در زهکشی گلدان
تا اینجا تلاش کردیم تا شما ار اب فواید زهکشی گلدان آشنا کنیمو موضوع بعدی که برای ایجاد زهکشی در گلدان بسیار حائز اهمیت است، ترکیب خاکی است که داخل گلدان قرار دارد. برای گلدان نباید از خاک های فشرده و سنگین استفاده کنید و در صورتی که خاک شما چنین خصوصیتی دارد با اضافه کردن مقداری شن و ماسه، پرلیت یا ورمیکولیت می توانید ساختار خاک خود را سبک کرده و هوادهی خاک را بهبود ببخشید.
اهمیت انتخاب گلدان برای زهکشی
هنگام خرید گلدان باید به دو عامل توجه داشته باشید، جنس و سایز گلدان. در ادامه شما را با تاثیر این دو عامل بر زهکشی گلدان آشنا خواهیم کرد؛

اندازه گلدان
انتخاب گلدانی که اندازه آن با گیاه شما متناسب باشد تاثیر چشمگیری بر فرایند زهکشی دارد. در صورتی که گلدان شما بزرگ تر از گیاه باشد طبیعتا به مقدار زیادی خاک نیاز دارید در نتیجه حجم آبیاری شما بیش از نیاز گیاه خواهد بود و به مرور گیاه دچار پوسیدگی می شود. در مقابل اگر گلدانی که انتخاب می کنید برای گیاه کوچک باشد علاوه بر ایجاد فشردگی برای ریشه های گیاه، خاک گلدان به سرعت خشک شده و باید به طور مدام در حال آبیاری باشید. در نتیجه هنگام خرید به تناسب سایز گلدان و گیاه خود توجه کنید.
جنس گلدان
جنس گلدان نیز یکی از عواملی است که می تواند در زهکشی تاثیرگذار باشد. برخی گلدان ها مانند گلدان های سفالی رطوبت را تا مدتی طولانی در خود نگه می دارند و یا در گلدان های فلزی و پلاستیکی تنها راه خروج آب اضافی از گلدان سوراخ های زهکشی خواهد بود. به همین دلیل توجه به جنس گلدان برای ایجاد زهکشی از اهمیت ویژه ای برخوردار است. شما می توانید گلدان هایی که دارای سوراخ های زهکشی هستند را تهیه کنید اما در صورتی که گلدان شما فاقد زهکشی است با توجه به جنس گلدان از طریق ابزاری مانند پیچ گوشتی، مته یا دریل می توانید زهکشی مناسبی برای گلدان خود ایجاد کنید.
سخن پایانی
اگر تازه شروع به پرورش گیاه کرده باشید ممکن است با فرایند زهکشی آشنا نباشید، اما همانطور که پیش تر اشاره کردیم زهکشی اهمیت فراوانی در رشد گیاه دارد و در این مطلب تلاش کردیم تا شما را با فواید زهکشی گلدان آشنا کنیم.
برای کسب اطلاعات بیشتر می توانید به وب سایت تهران گرولایت مراجعه نمایید.